Drill press with recycled battery drill motor

I have no workshop and therefore I can not afford a really good drill press, so I had to pull one of these cheap in which is placed a normal drill.

The problem is that I needed a normal drill but mine is with battery, and being battery has no collar to put on the bracket. For this reason and because I wanted to have a drill that could operate at very few revolutions ended up doing this.

I bought a second hand battery drill without battery (4 €), dismantled it and put it in the stand. I put a cable and using my adjustable power supply I can move at the speed I want. And these motors have a huge force. Easy, fast and cheap.

DSCF1664 DSCF1665 DSCF1666

Power supply adjustable using an PC ATX power supply

When you start to have many motors and other gadgets at home, it is essential to have an adjustable power supply, because each device operates at a different voltage, and some of them also have a high consumption. So after a long time mulling over the idea, here is what has been.

DSCF1640

Using a computer ATX supply and other components I’ve built a power supply adjustable with four outputs:

  • Adjustable output between 0.8 and 12V and a maximum of 6A
  • Fixed 5V and 40A maximum output
  • Output 12V fixed and 17A maximum
  • Output adjustable between 12 and 35V and maximum 10A

The maximum amps are limited by the power of the ATX supply and the voltage regulators used. Coming from China I’ll try not to take them to the limit and also some other components don’t allow high amperes. For example, connectors banana I’ve used have a theoretical maximum of 19A with it nor should never exceed that amount. Anyway, in the day to day it is rare that pass 5A with the devices that I plug in so at the moment I do not care I some day I will do a 2.0 version with better quality components and a better wiring.

The power supply also has a voltage of each output via a switch meter and a meter overall amperage of all outputs. And two LEDs, one indicate when is plugged in and another when is turned on.

Here are the photos and layout.

DSCF1638 DSCF1641 DSCF1643 DSCF1646 DSCF1649 DSCF1653 DSCF1658 imageesquema4

Homemade mini table saw

One of the most important tools in any workshop, or DIY amateur, is a table saw. Since I don’t have a workshop and I am not used to make big things, my perfect tool would be this saw, but very small.

If we look for a small saw we’ll see that there are only two or three options in the shops, and are quite expensive. So, I opened the Solidworks in one hand and Google in the other y started to think what could I do with my limited tools.

Finally, after a lot of hours and had studied a lot of other projects this was the result:Renderizado 1 Renderizado 2

Sigue leyendo

Vertical stand for mini drill homemade

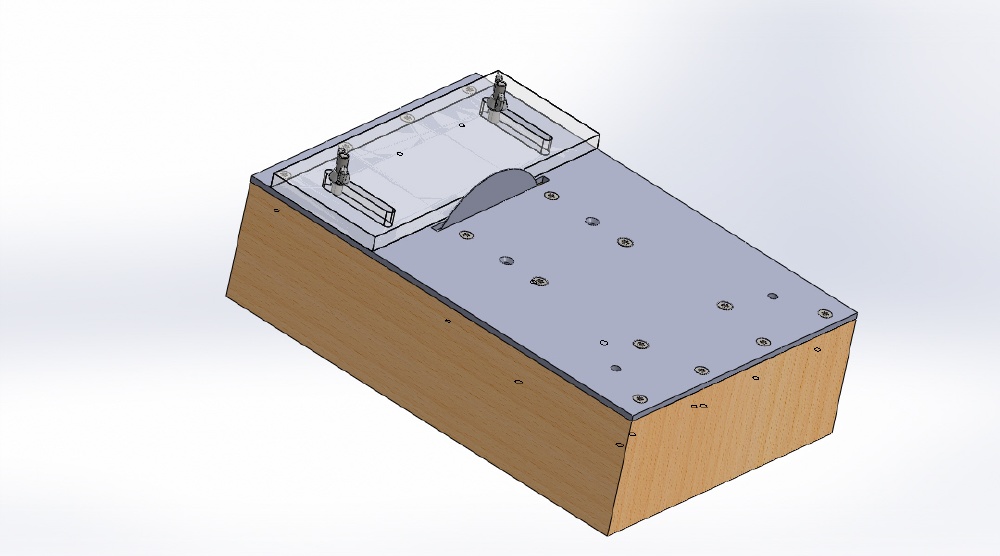
I was good for a vertical support to make holes with my dremel. The trade stands were either expensive, or very large, or both. So I started thinking a bit different I could do with what I had at home and this is what came out. First design in 3D Studio Max to see how things fit.

And after the rapid design to work. The list of materials that I have used is the following, although some things may not be ideal, I tried everything I could reuse:

  • A particle board (in my case 18mm thick)
  • 4 rubber purchased from the Chinese
  • 2 springs purchased at a hardware store
  • Two «slats» aluminum which was home, purchased at Leroy Merlin
  • A piece of aluminum square tube which was home, purchased at Leroy Merlin
  • 2 screws M4
  • 1 piece of which are used to hold the landing gear of the aircraft radio
  • A couple of meters nicest butt to leave the edges of the timber cut

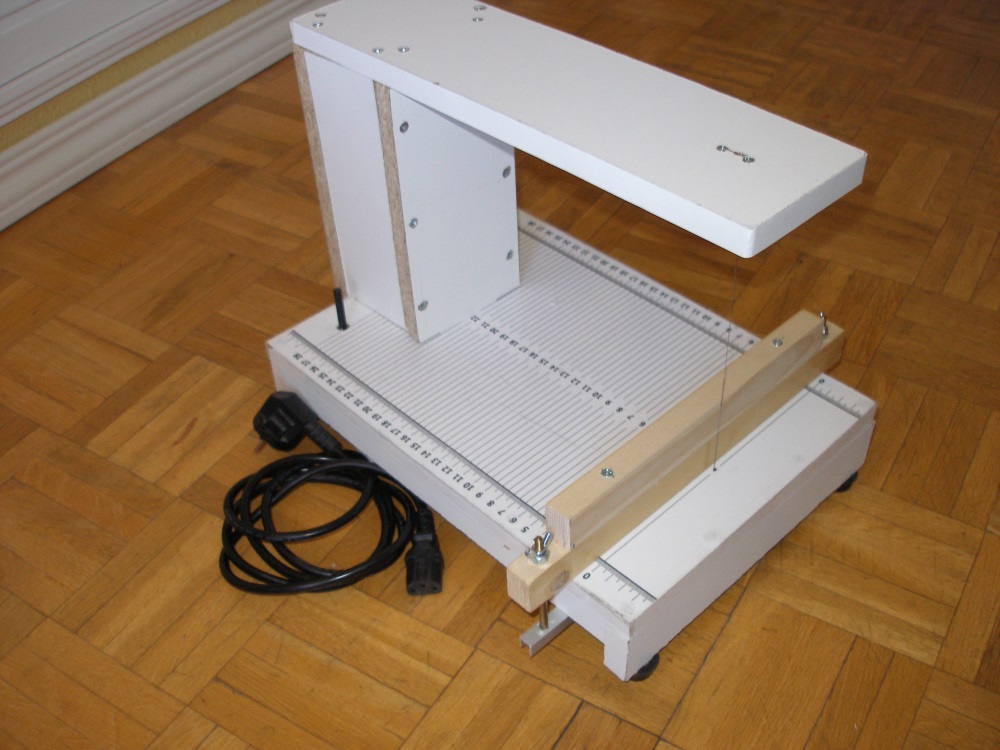
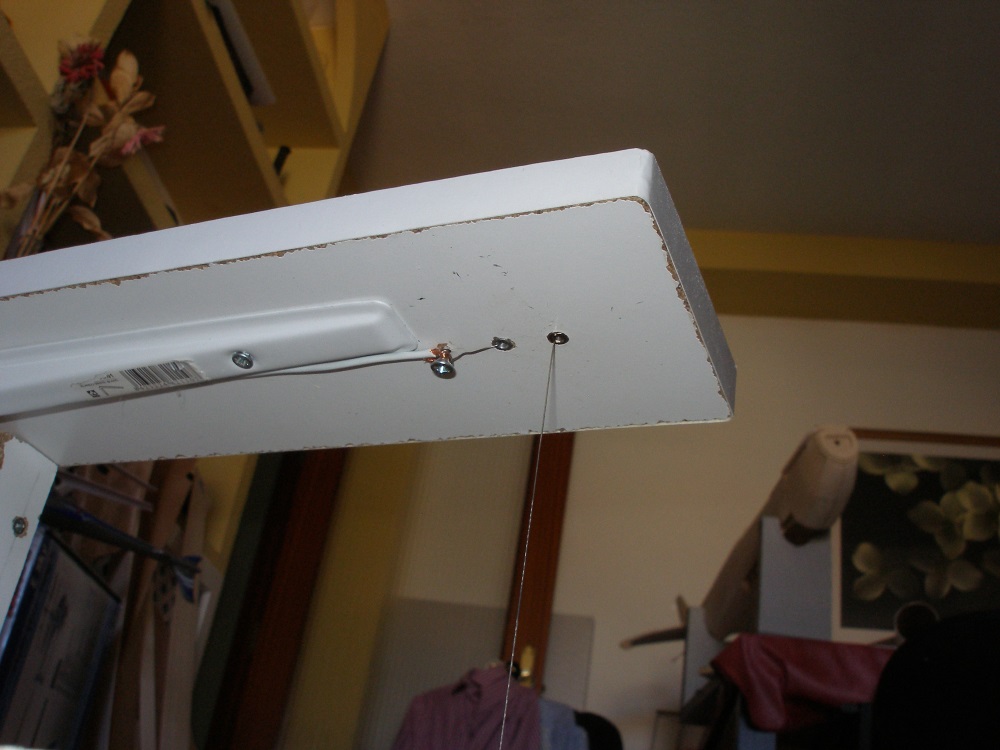
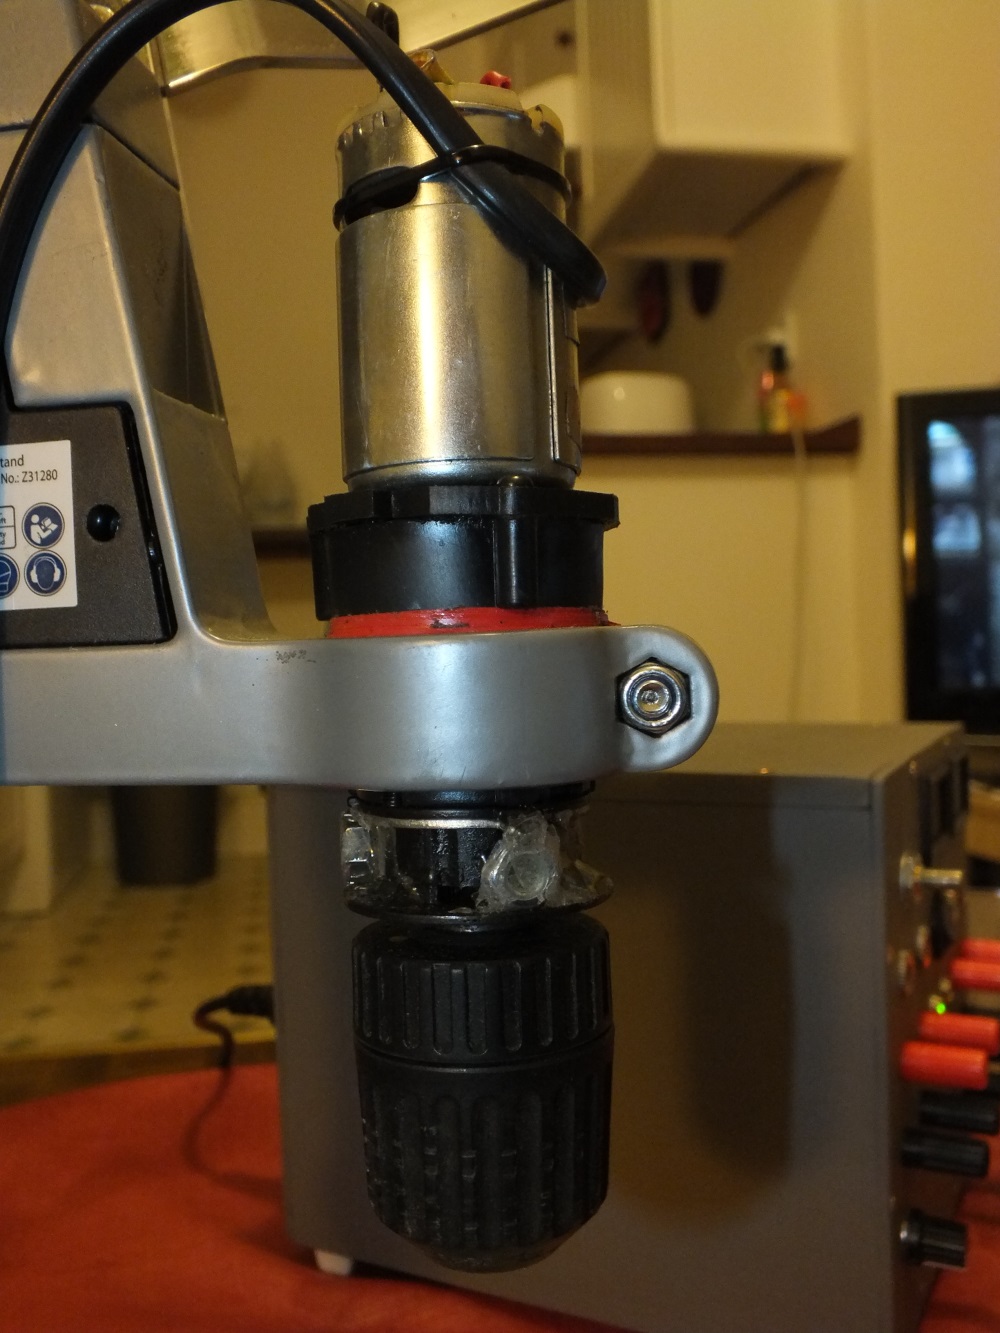
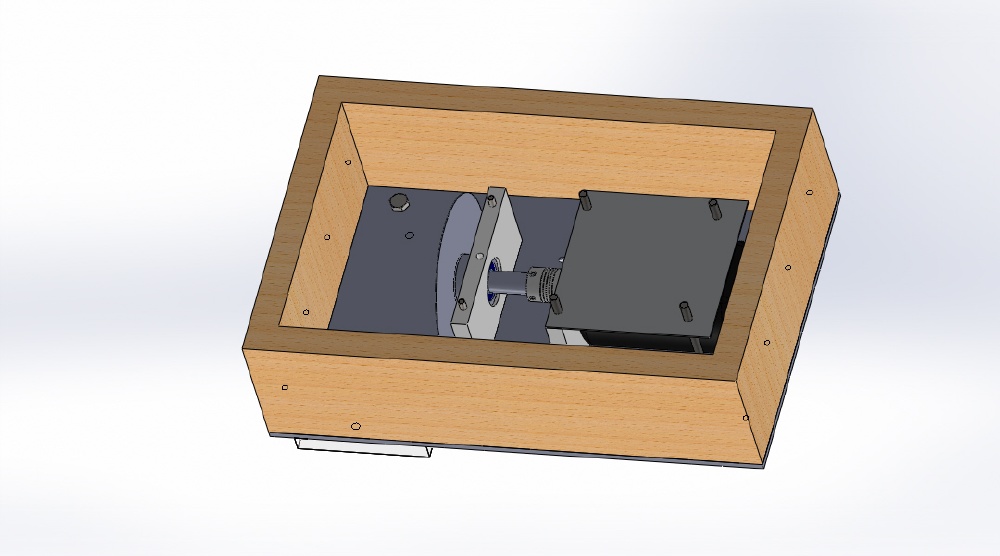
And here an outline of how they fitted the pieces. I’ve screwed with the coach and have been all made a stone. That if either carefully cutting straight timber, and carefully screw them right square. The yellow part is the phone will stuck in the white body finish turning before this. As the hollow inside is just the width of the wood we use (and separator used a piece of the wood itself), fits perfectly with the white part of the structure fixed. And then with aluminum slats and how each could properly is the upper arm and not much mystery.

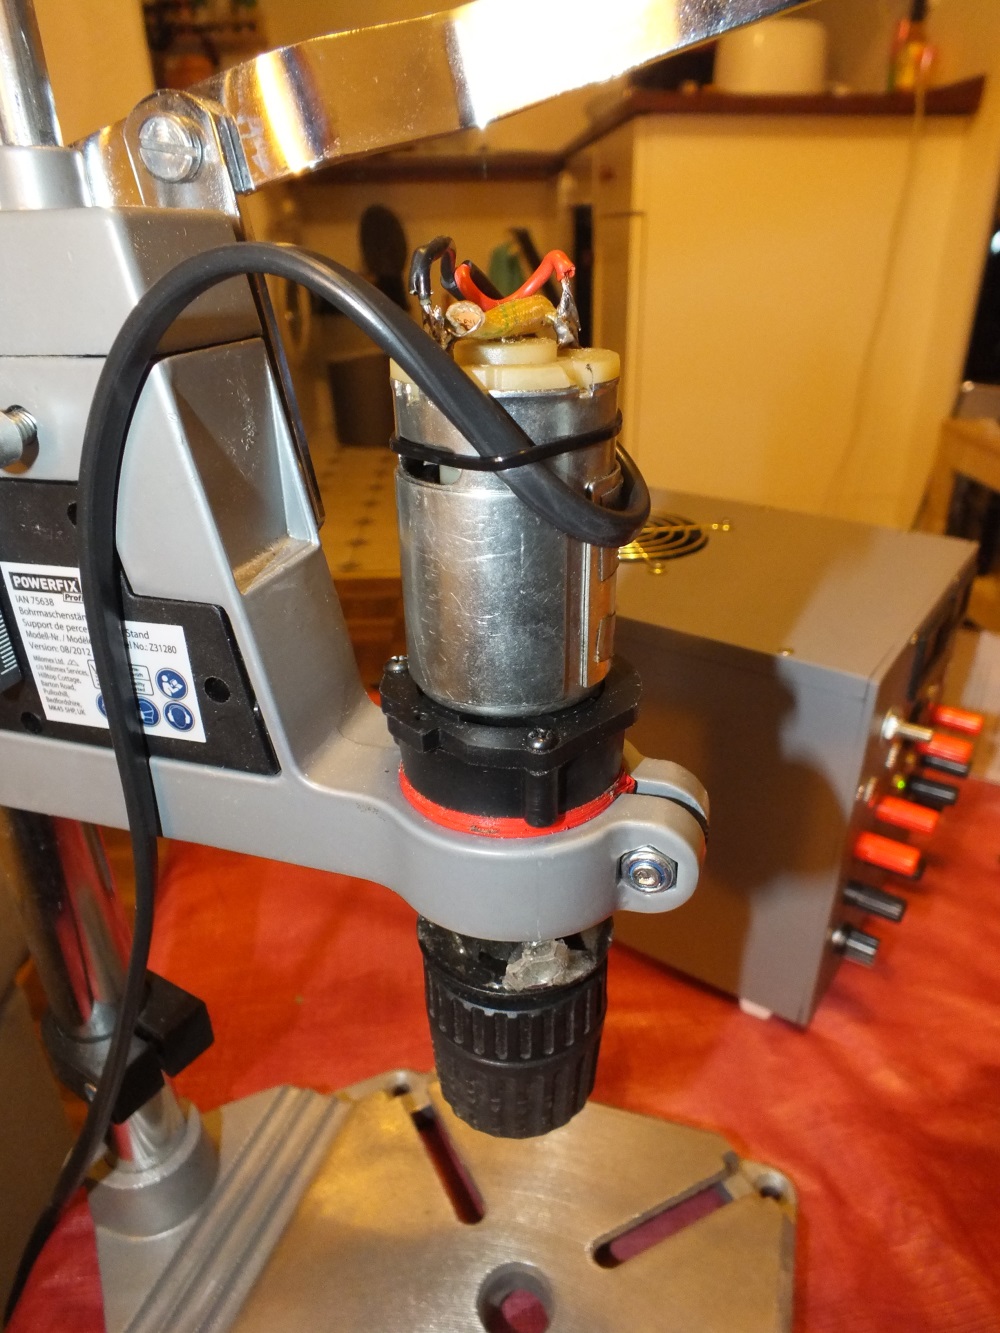
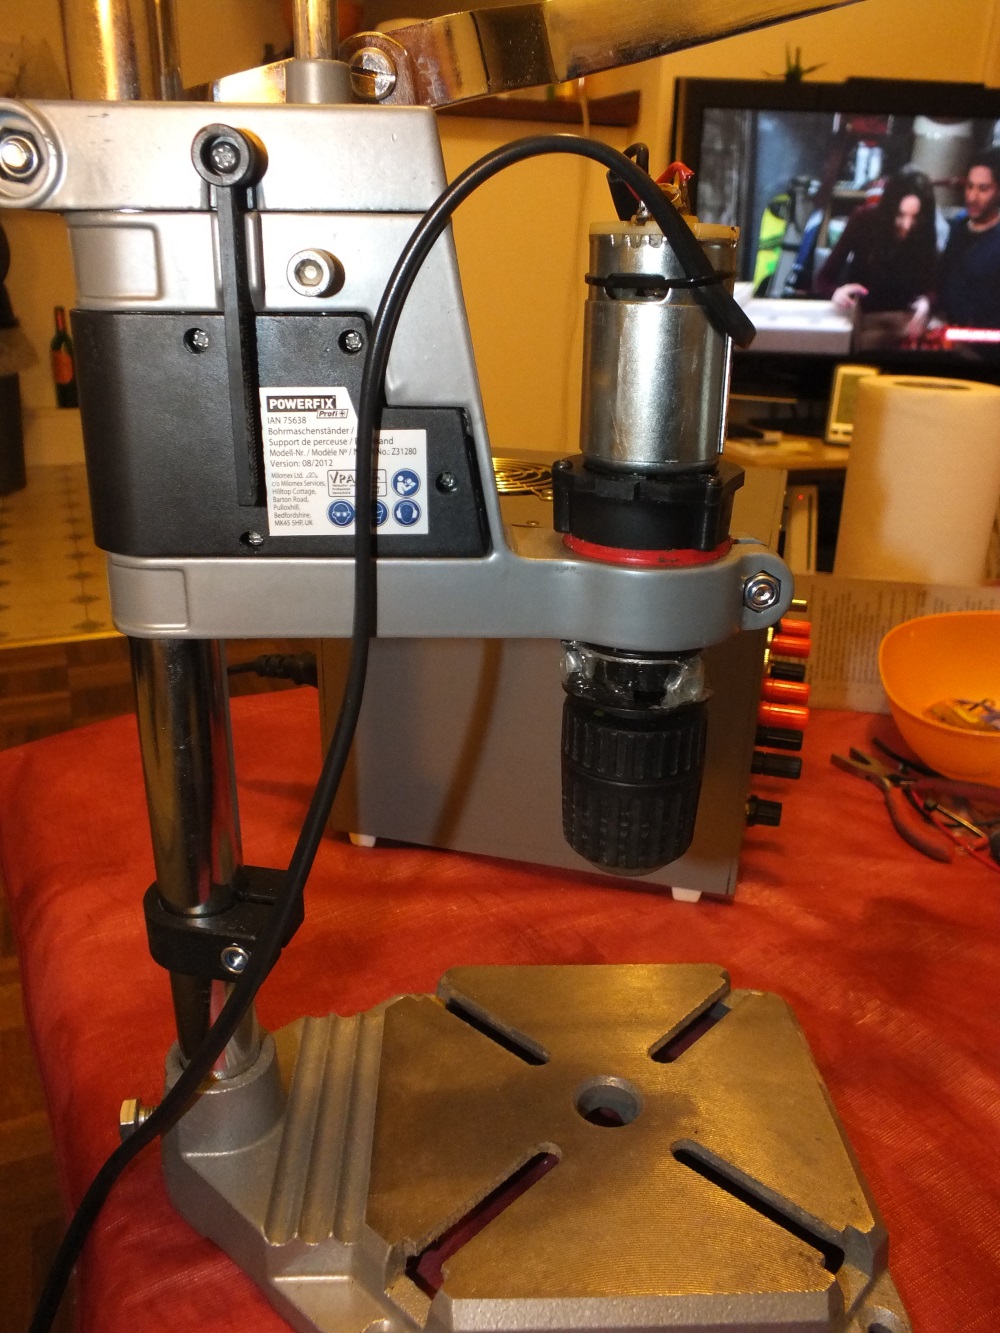
At first I thought of holding the dremel by two points, but after attaching to the top came as pressure that is clearly subject and I think it is necessary. Surely done anyway putting a fastening point near the part of the drill will not move and nothing more accurate.

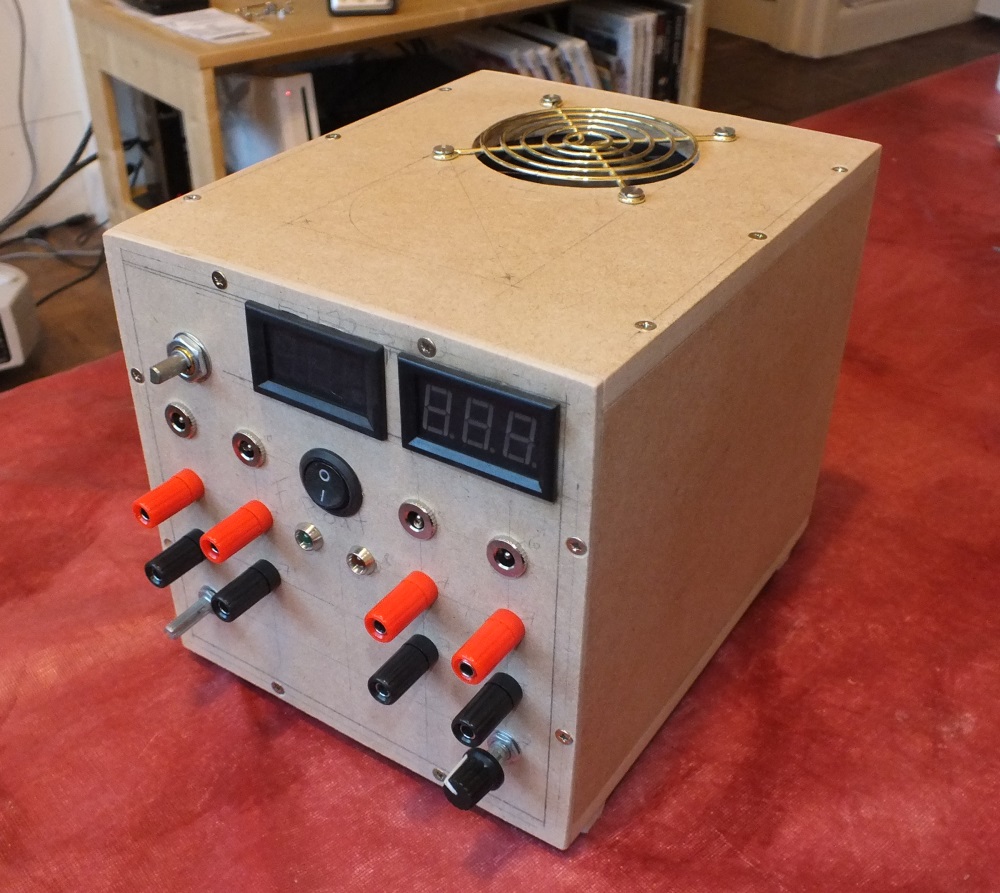
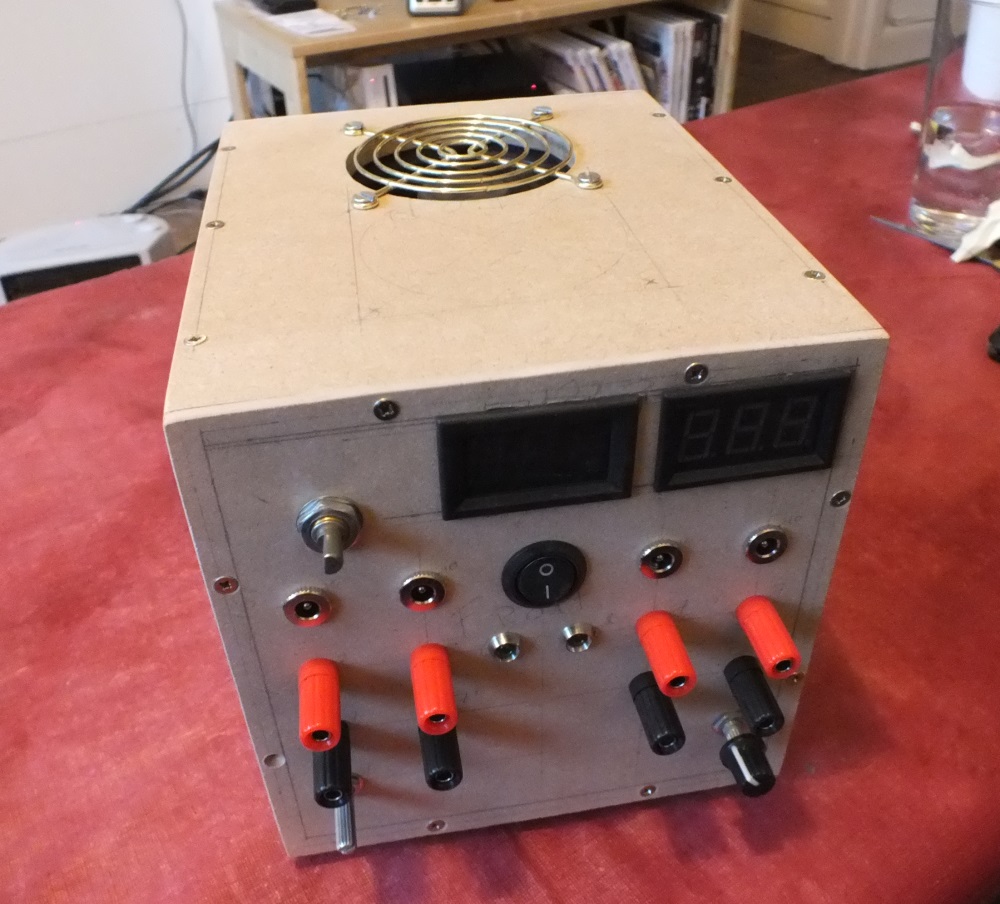
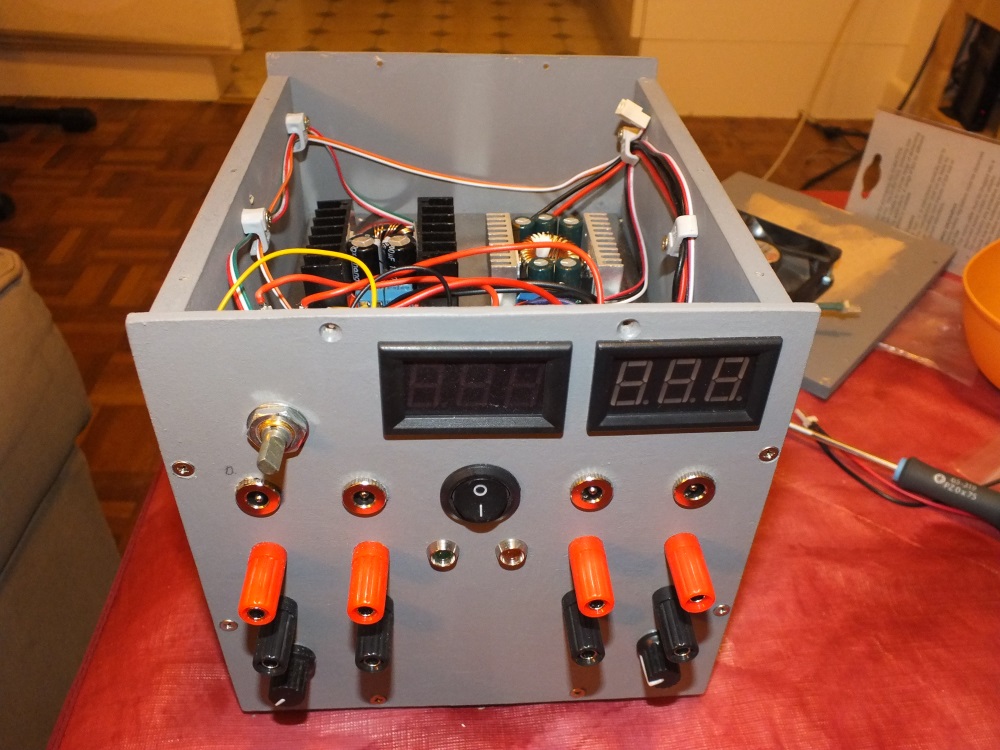
After build I added a small lane in order to support parts and I will even do some milling. This can be seen in the photos. The cost of all this …. I guess it will walk for 10 to 15 € (without the dremel course). All you have at home, for that which I less and save. in my case I only had to buy the docks. And above that is small in content and saved anywhere. And here a PDF of the sizes of each piece.

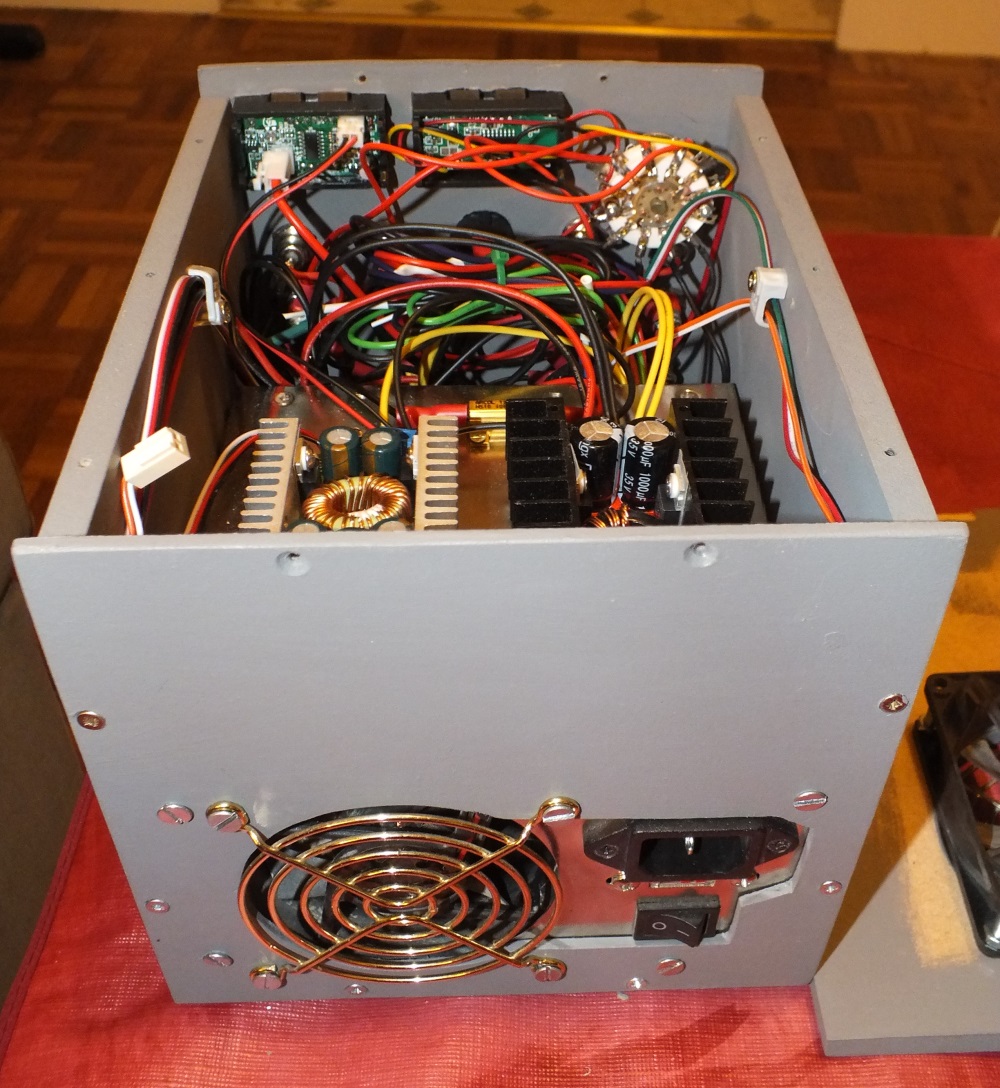
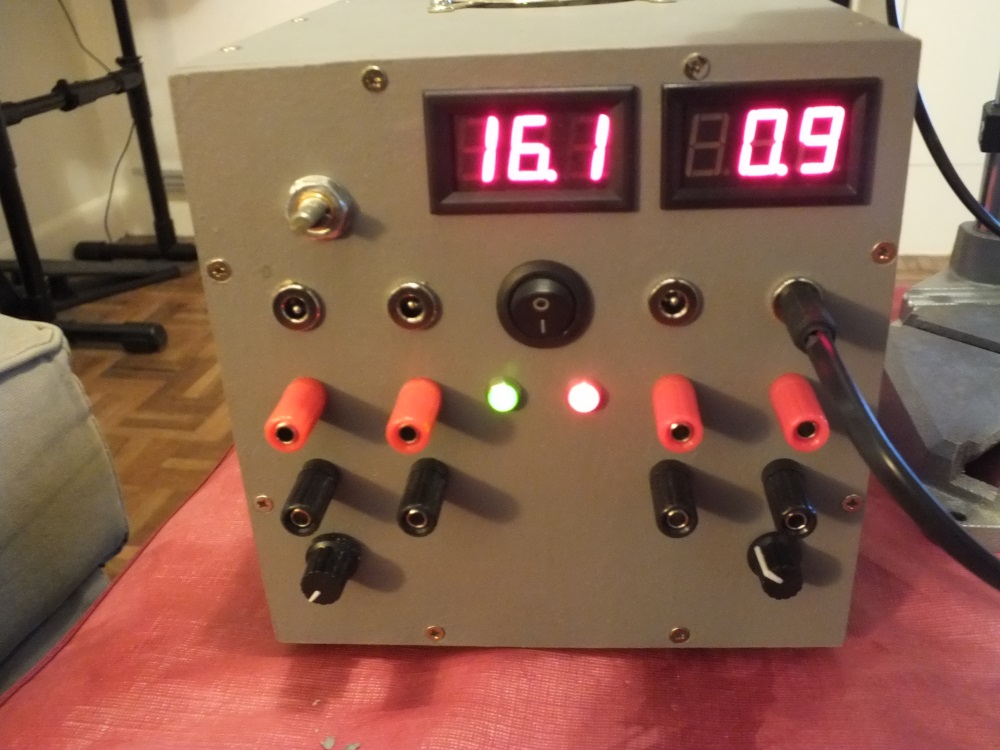
And here some actual photos of the invention. The finish is not very good, but it’s done in a hurry in a couple of hours.